Featured image of post 如何在MacBook上搭建GitLab

如何在MacBook上搭建GitLab


最近想要系统的学习一下基础设施方面的知识,所以准备搭建一个学习环境,我没有多余的机器使用,只有一个MacBook Pro 2021 ,所以选择在笔记本上使用 Docker 搭建一套环境,目前看来第一步还是顺利的。

安装 GitLab

Mac 的M1芯片使用的是ARM架构,所以我们去寻找 ARM架构的镜像, 我是用的是yrzr/gitlab-ce-arm64v8:latest

首先需要创建 gitlab-ce 的三个工作目录 etc、 log、 opt ,不然会报错 。
volumes里面的配置修改成你的工作目录就可以了。这里暴露了两个端口9922、9980 因为是在本地使用,所以就没开放https的443 端口,后面也不准备使用https。
docker-compose.yaml

 1
 2
 3
 4
 5
 6
 7
 8
 9
10
11
12
13
14
15
16
17
18
19
20
version: "3.8"
services:
  gitlab-ce:
    image: yrzr/gitlab-ce-arm64v8:latest
    container_name: gitlab-ce
    privileged: true
    restart: always
    ports:
      - "9922:22"
      - "9980:9980"
    volumes:
      - /Users/hxzhouh/tools/gitlab/etc:/etc/gitlab:z
      - /Users/hxzhouh/tools/gitlab/log:/var/log/gitlab:z
      - /Users/hxzhouh/tools/gitlab/opt:/var/opt/gitlab:z
    deploy:
      resources:
        limits:
          memory: 4096M
    tty: true
    stdin_open: true

这里需要注意的是,我们对外暴露的端口是9980,因为我们后面会配置 gitlab 的http 端口运行在9980 而不是 默认的80 ,这样做,是为了避免这个问题:
https://stackoverflow.com/questions/66961517/gitlab-http-clone-url-is-wrong-port-8022-missing

等待docker 被拉起来,然后进入gitlab-ce 里面修改 配置 /etc/gitlab/gitlab.rb

1
2
docker exec -it gitlab-ce /bin/bash
vi /etc/gitlab/gitlab.rb

在最后添加三行,保存退出。

1
2
3
external_url 'http://127.0.0.1:9980'
gitlab_rails['gitlab_ssh_host'] = '127.0.0.1'
gitlab_rails['gitlab_shell_ssh_port'] = 9922

然后修改默认密码

1
2
3
4
gitlab-rails console -e production
user = User.where(id: 1).first
user.password = 'AIl+mVN(:bk\#5%c'
user.save!

Pasted image 20241115193324
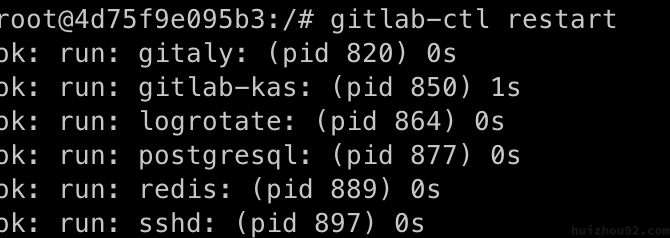
最后在执行reload 操作,然后重启

1
2
gitlab-ctl reconfigure
gitlab-ctl restart

Pasted image 20241115193440
稍等片刻。
然后 浏览器输入127.0.0.1:9980 就可以打开gitlab-ce了,默认的root 账号密码就是我们刚刚修改的密码。

添加ssh

跟使用GitHub一样,我们先创建一个ssh 密钥对, 然后将公钥添加到 GitLab里面。在本地 ~/.ssh/config 里面添加配置

1
2
3
4
5
6
Host 127.0.0.1
HostName 127.0.0.1
Port 9922
IdentityFile ~/.ssh/ssh
PreferredAuthentications publickey
User root

测试一下

1
2
➜  .ssh ssh -T [email protected]
Welcome to GitLab, @root!    

ssh 是没有问题的。

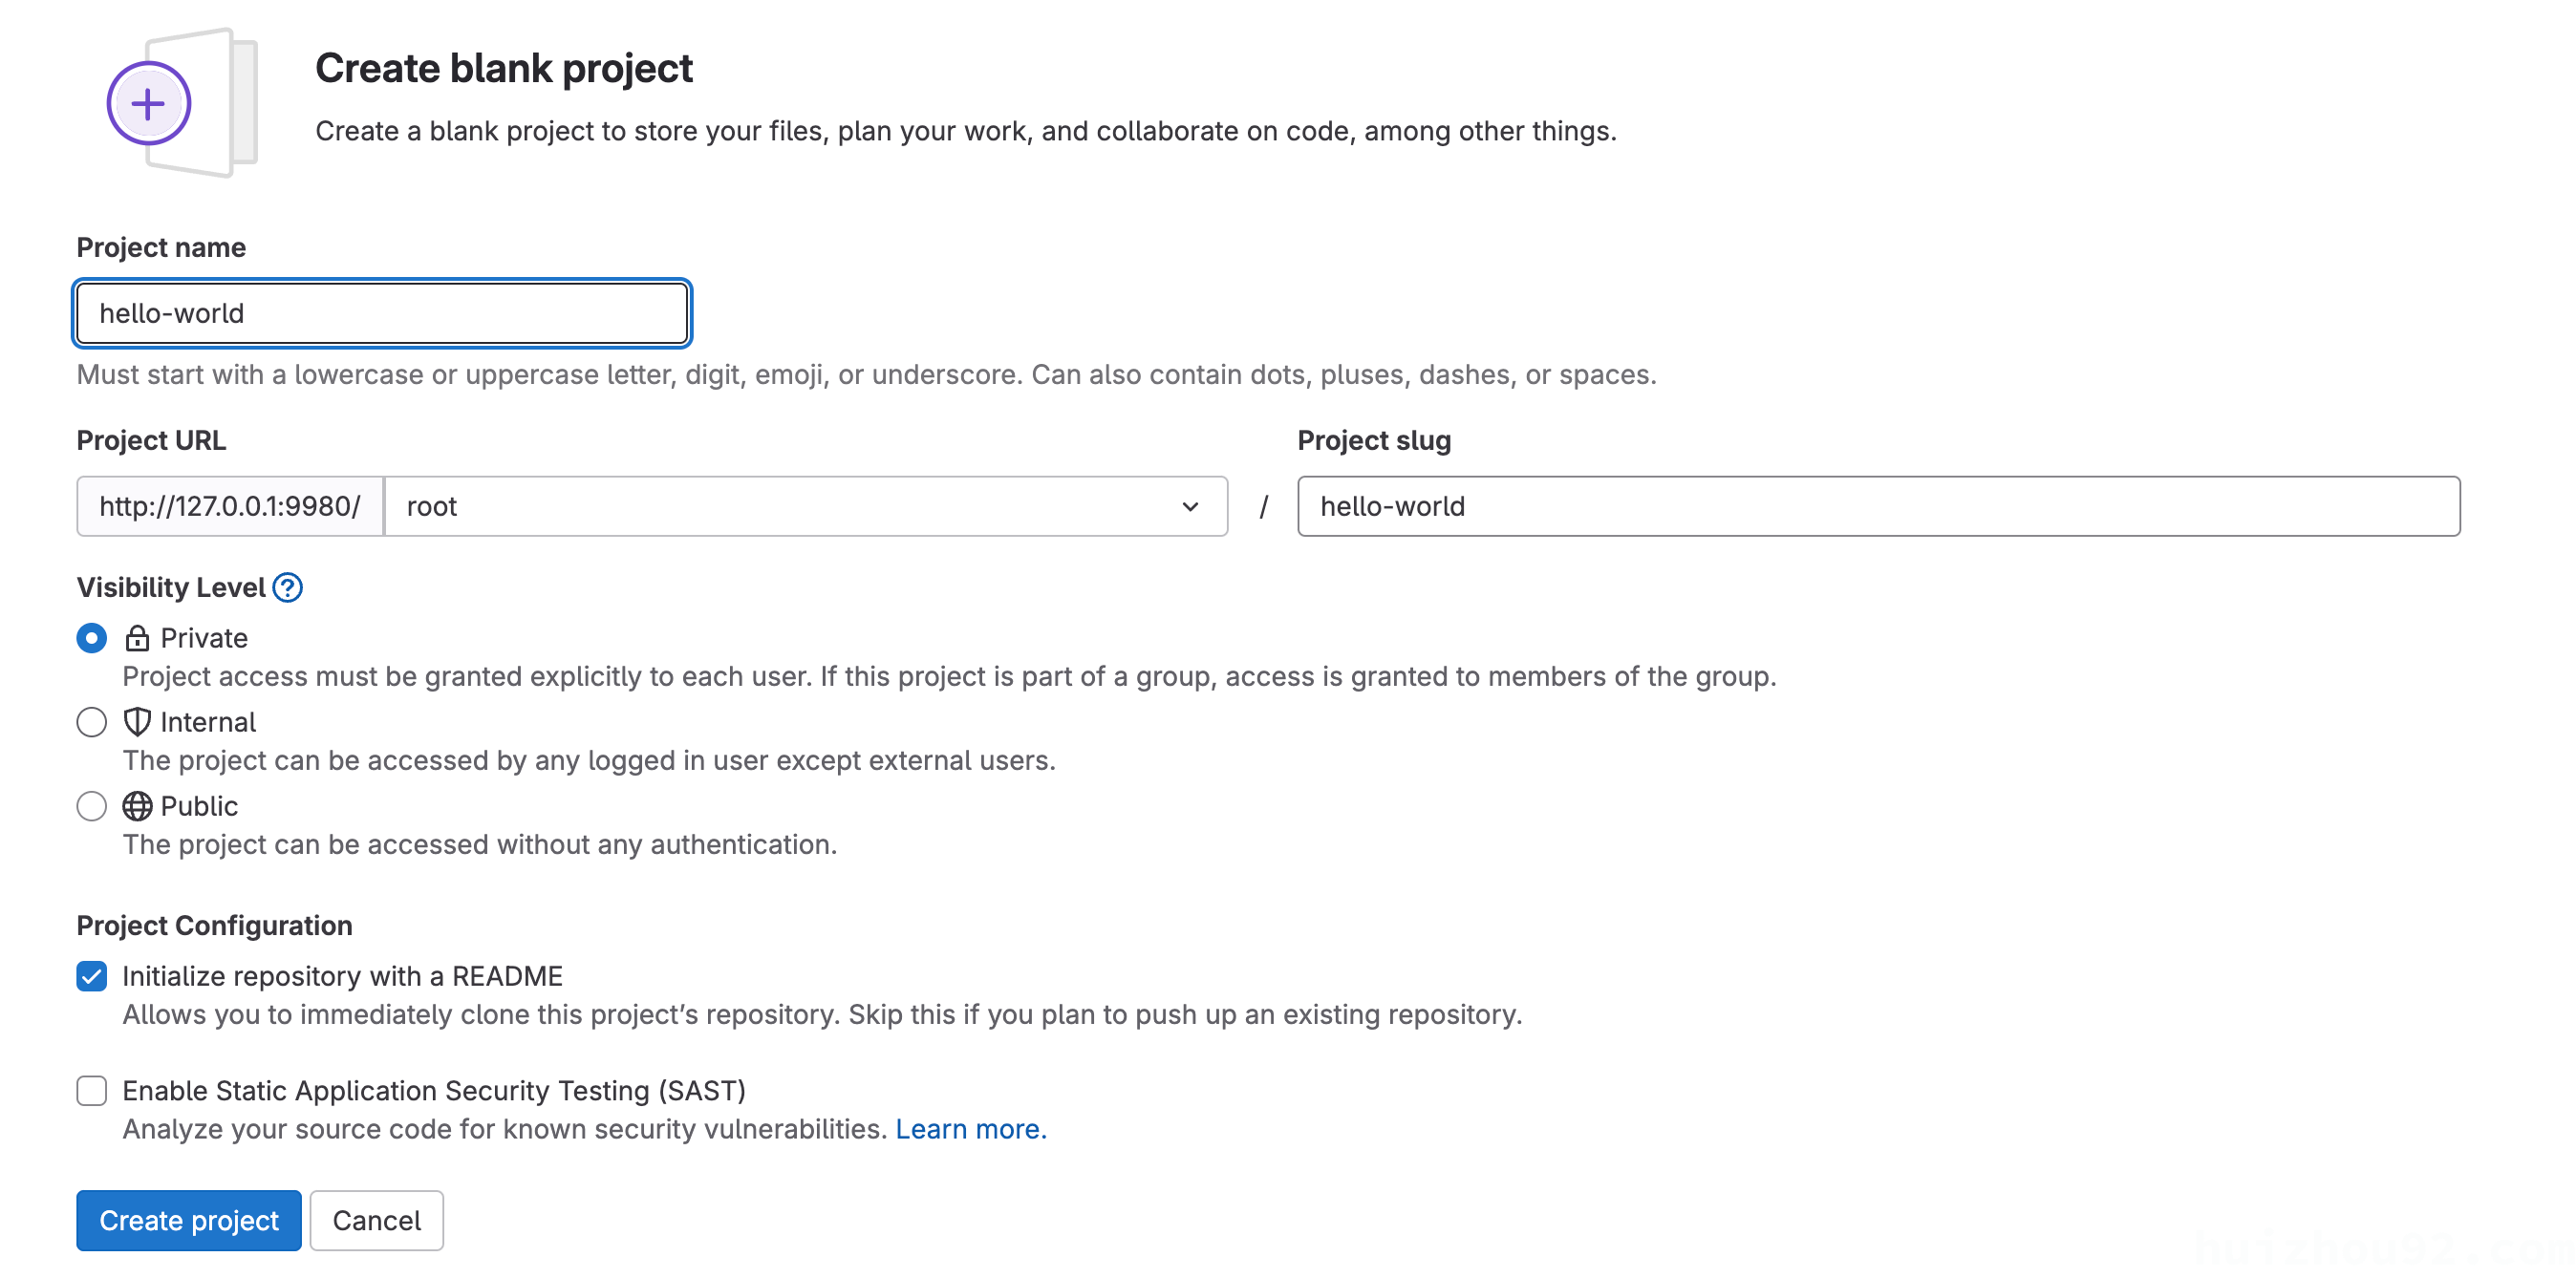
尝试新建一个项目

Pasted image 20241115195500
创建成功,在本地将代码拉下来。

1
git clone ssh://[email protected]:9922/root/hello-world.git

ssh 推送也是没有问题的

1
2
3
➜  hello-world git:(main) git push origin --force
To ssh://127.0.0.1:9922/root/hello-world.git
   b4dd724..e45f213  main -> main

Gitlab Runners 配置

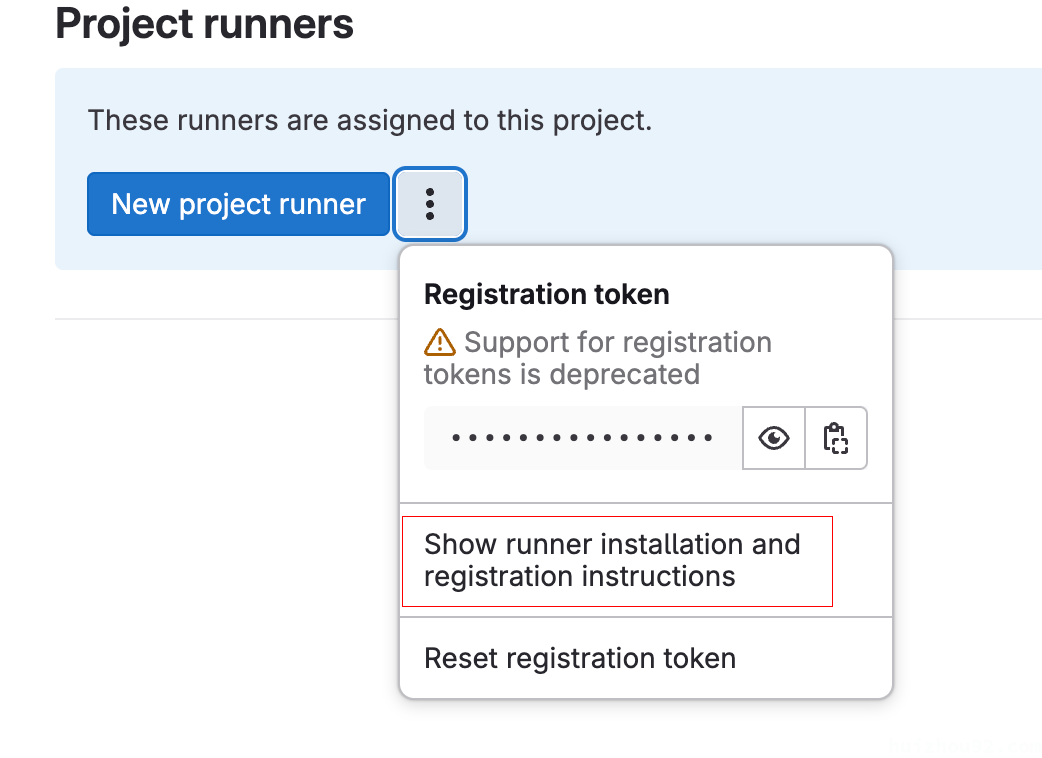
在setting -> CI/CD -> Runners 点击 …,然后 根据 ‘Show runner installation and registration instructions’ 文档 安装 runners
Pasted image 20241116093057
我这里输入的命令是:

1
2
3
4
5
sudo curl --output /usr/local/bin/gitlab-runner https://gitlab-runner-downloads.s3.amazonaws.com/latest/binaries/gitlab-runner-darwin-arm64
sudo chmod +x /usr/local/bin/gitlab-runner
gitlab-runner install
gitlab-runner start
gitlab-runner register --url http://127.0.0.1:9980 --registration-token GR13489416KQ-jitR3JhfMgr8f-9G

Pasted image 20241116144505

有几个关键点需要注意

  1. Enter tags for the runner (comma-separated):
    1. GitLab是用 tag来管理runner 的,最好是一个runner做一件事情,用tag 标记,写.gitlab.ci.yml 的时候需要指定tags
  2. Enter an executor
    1. executor 有很多种,我这里为了演示,选择了shell

更多关于GitLab Runner 的 的介绍可以参考官网的文章,这里就不做展开。
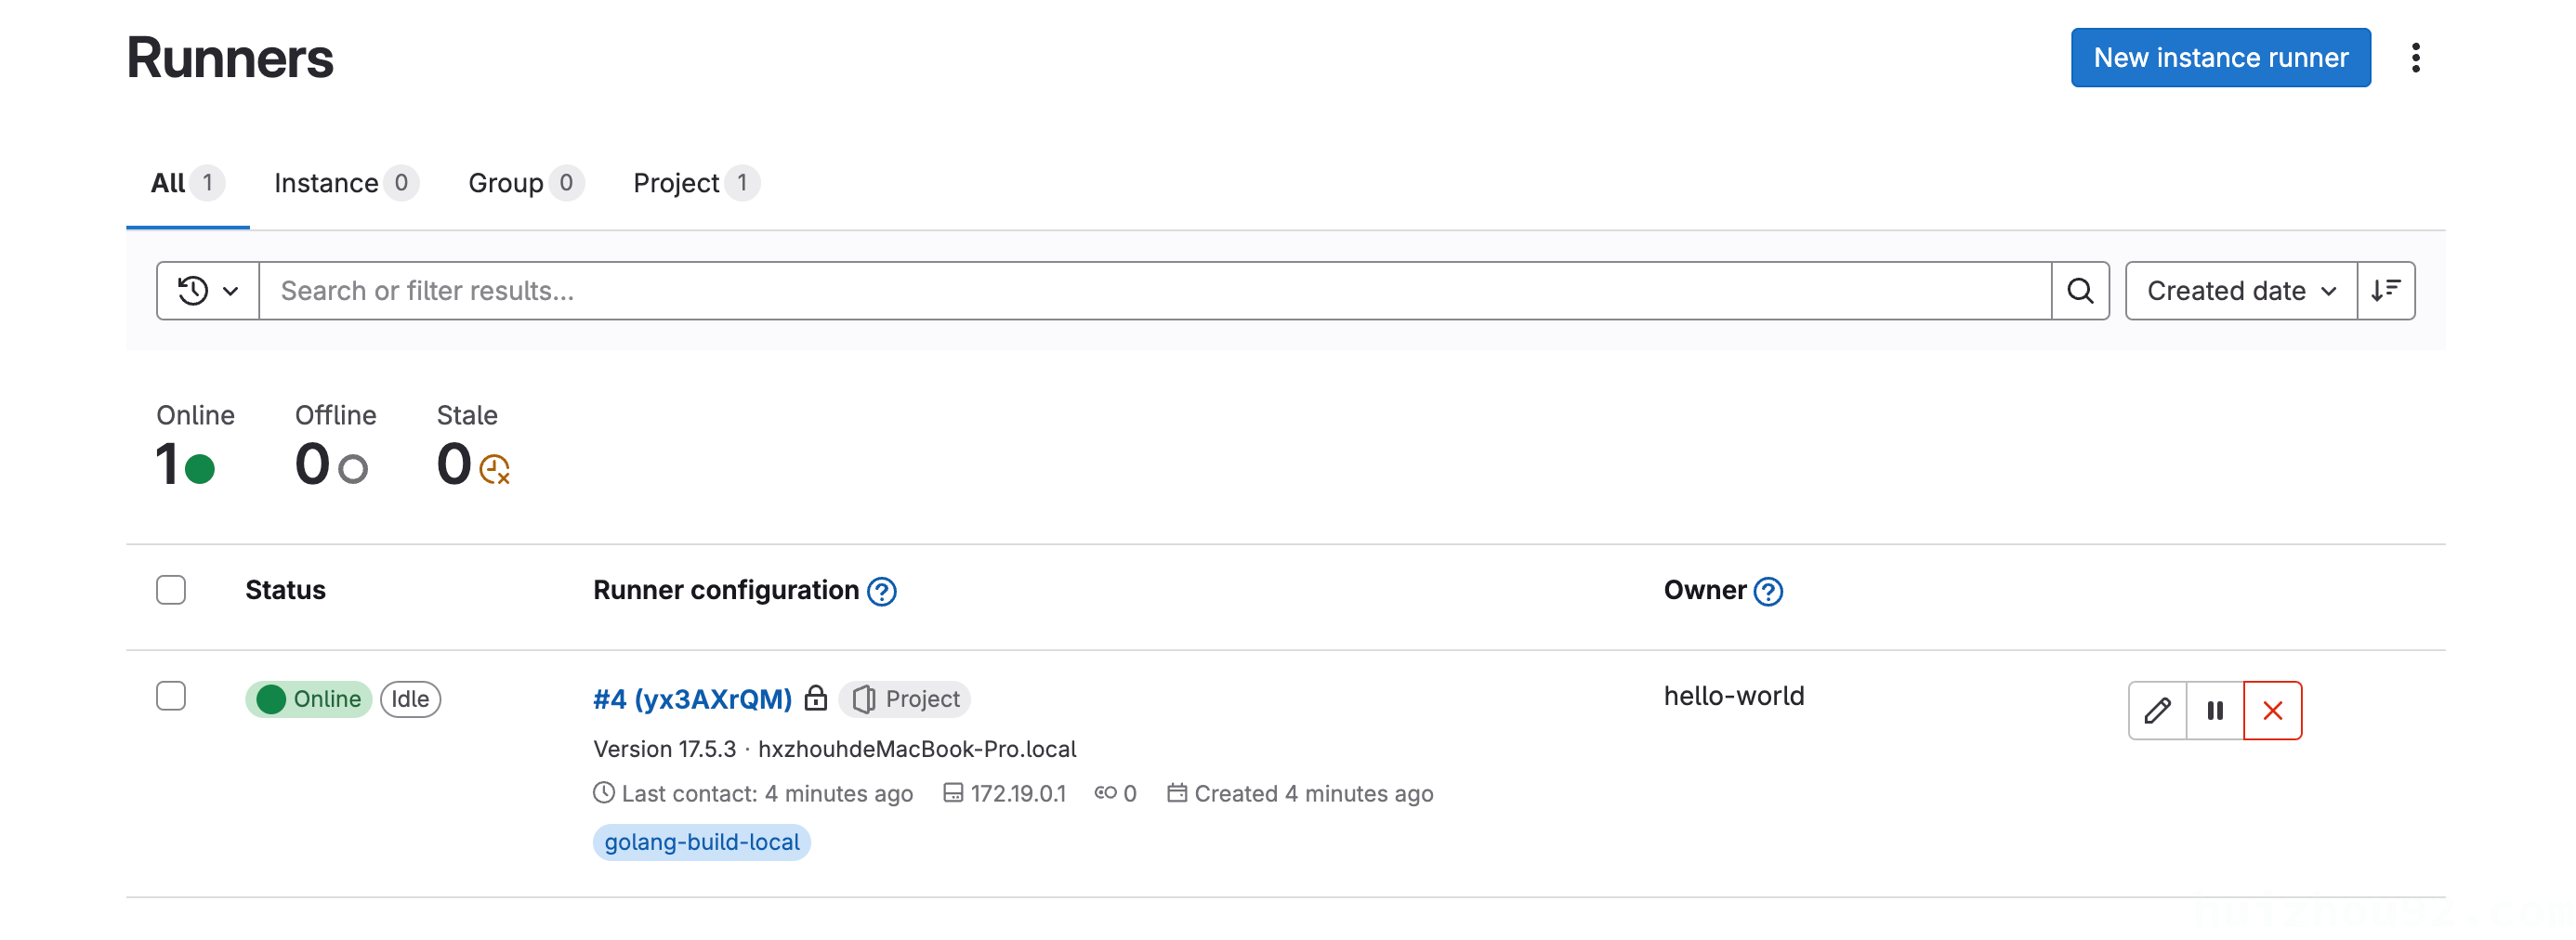
安装好了就可以在 http://127.0.0.1:9980/admin/runners 看到效果了
Pasted image 20241116145026

最后,在 刚才创建的工程中,添加一个 .gitlab-ci.yml 测试一下。

 1
 2
 3
 4
 5
 6
 7
 8
 9
10
11
12
13
14
stages:  
  - build  
build_job:  
  stage: build  
  tags:  
    - golang-local-shell  
  script:  
    - go build -o myapp  
  only:  
    - main  
    - tags  
  artifacts:  
    paths:  
      - myapp

将代码推送到gitlab,很快就能编译完了 http://127.0.0.1:9980/root/hello-world/-/pipelines

Pasted image 20241116143812

然后在 http://127.0.0.1:9980/root/hello-world/-/artifacts 可以找到 构建的产物。
Pasted image 20241116144233

至此,在本地搭建GitLab环境已经弄好,下一篇文章,在折腾在本地搭建k8s 集群,然后从GitLab自动打包成docker镜像推送到 k8s 集群,完成一个CI/CD的完整流水线。

使用 Hugo 构建
主题 StackJimmy 设计